Job batches Management
From Opera Wiki
Contents |
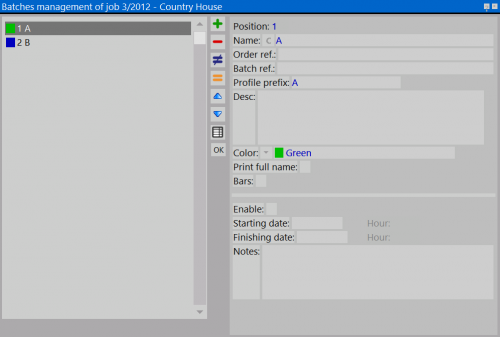
Creating job batches
 . For the archive Job Batches please see the chapter dedicated.
- Name: this is the name of the job batch (the names used in the manual are examples).
- Order Ref.: you can specify an order reference.
- Batch ref.: allows you to add a batch reference.
- Profile prefix: displays the identification code that will be assigned to profiles and panes of the job. this code helps simplify the identification of leftovers and panes belonging to a job during the assembly phase.
- Desc: a description of the job phase.
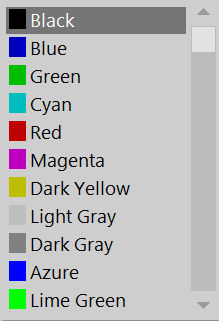
- Color
 : assign a color to each batch using the drop-down menu.
- Print full name: displays the full name in the job management panel. if disabled, only the first letter is shown.
- Bars: activates the bar calculation function, including waste, and allows you to enter prices for the selected step types. when enabled, the icon
 on the botton on the box Job Management ( see paragrafh below Assignment typology).
The filling in the fields belows is useful only as reminder for the program user.
- Enable: indicates that the batch is active.
- Starting date: the start date of the batch.
- Finishing date: the end date of the batch.
- Notes: field for entering additional notes.
Job batch management can also be performed via an archive of predefined batch, which are selected and matched with the job. The field name allows to open the Archive of the predefined Job Batches, where it will be possible to assemble the datas to the specific batch of a job.
Batch management
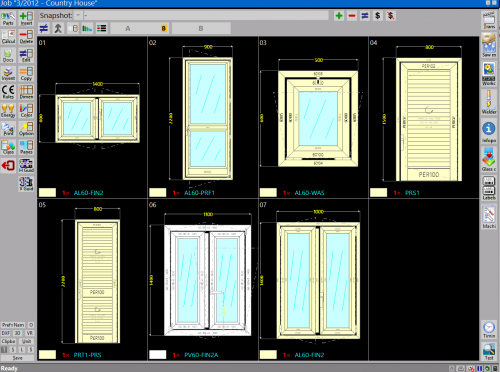
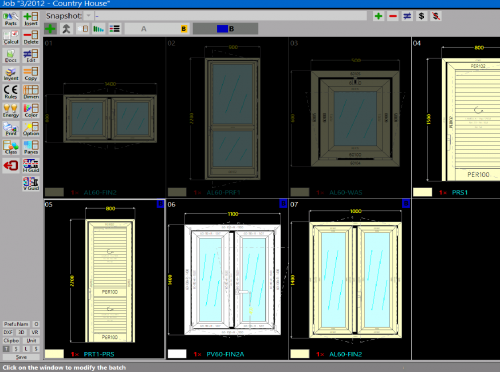
Once batches are created, Opera Job Management shows two new buttons, as illustrated in the image.
These buttons allow you to:
- assign types in job and divide them for each batch;
- set the number of pieces for each type in each batch;
- choose different structures for the same type and assign them to different batches (e.g., curtain walls).
Assignment of typologies
- Click the botton
 and then click the
  ;
;
- Select the types to assign to the phase by clicking on them with the mouse;
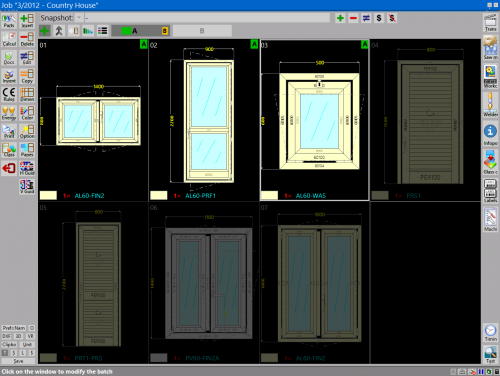
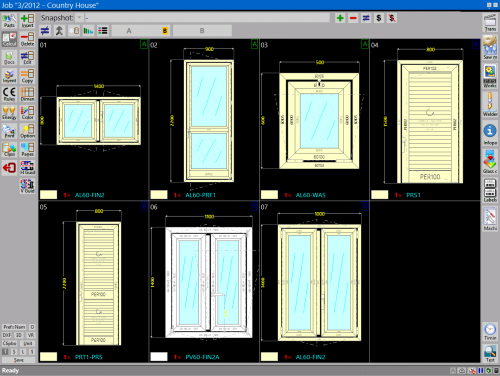
- Once finished the assignment, the box Job Management will look like the image shown below.
- Once the assignment is complete, the Job Management box will appear as shown.
Assigning pieces for a single typology
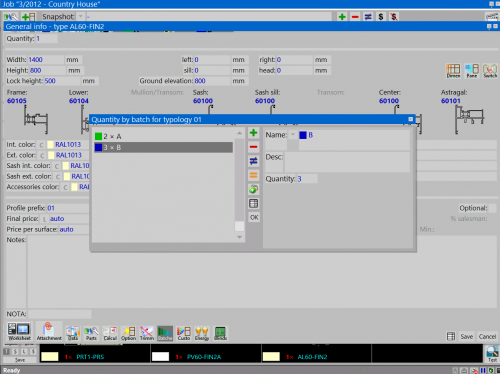
- Once types are assigned to phases, you can also define the number of pieces per type.
Select a type and open the box as the image on the side below.
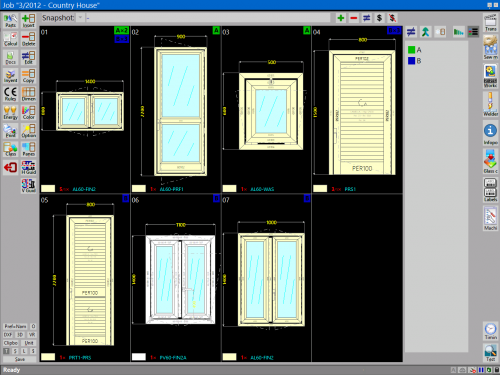
- Once done, the box Job Management will display the number of assigned pieces for each type.
How to merge the job batches
- After assigning types to steps, you can you can choose to combine the work, putting the datas together. to do this, select the steps to be merged and hold the
 button for a few seconds until the pop-up window appears, like as shown below.
- Once the steps are connected, the Job Management box will appear as shown in the image below.
