How to manage Optimization 2D
From Opera Wiki
We define 2D optimization, that function that allows you to optimize the cutting of glass, sheets and panels.
Contents |
Accessories Archive: panes parameter settings
The Panes in Opera Job Management is loaded in Accessories Archive respecting technical parameters essential for the correct use of the accessory (function and units of measurement)
- Use is set by choosing the type Pane.
- The unit of measurement is set in m2.
Accessories archive: optimization parameter settings
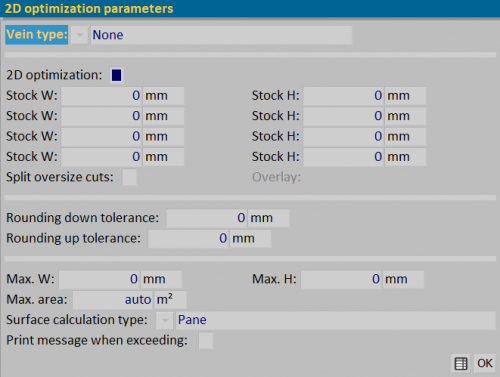
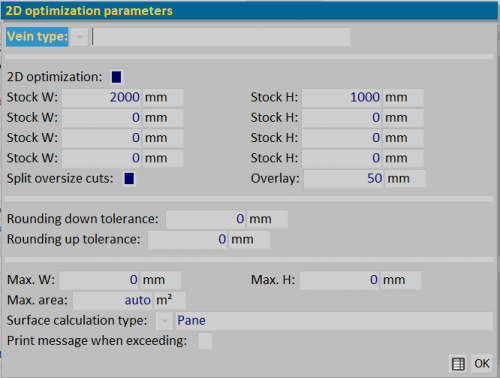
Through the button ![]() , if the module is active, we define the sheet data in the 2D optimization parameters panel.
, if the module is active, we define the sheet data in the 2D optimization parameters panel.
Below is the data setting procedure for sheet optimization:
- Set in the field Vein type
 the veins of the sheet on the archive (None, Horizontal Vein, Vertical Vein). The definition of the vein is linked to the management of the type of sheet cutting.
- Enable the field 2D optimization to indicate the size of the sheet to be optimized in the L sheet/H sheet fields.
- Stock W/Stock H: define the optimization measures of the sheet (up to 4 fields).
- The fields Split oversize cuts and Overlay are created for the management of warp profiles (used for example in Curtain Wall). The activation of the first field splits the cuts when they are bigger than the size of the sheet you choose to use; the second field can be used to indicate, if necessary, how much the divided pieces overlap each other.
At this point our panel is ready for cutting.
Accessories Archive: price setting
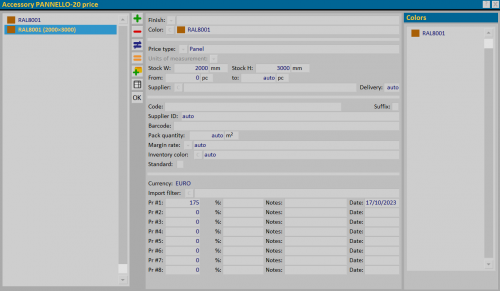
It is possible to define a price for single pane in the price panel that opens when the button ![]() is pressed.
is pressed.
- We enter the standard price per m2, keeping in the field Price type
 the Standard type.
- We enter a second price for the sheet by choosing in the field Price type
 the Panel type.
- Indicate in the fields Stock W and Stock H the size of the sheet to which to link the price.
Job Management: sheets optimization
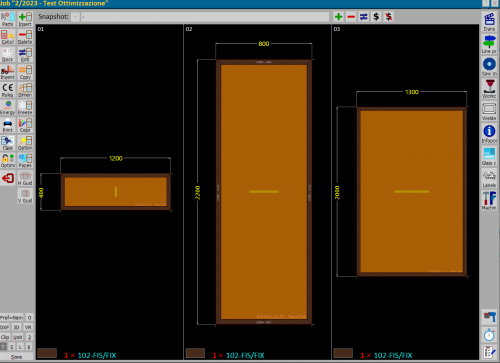
After creating the job with the panels and/or glasses to be optimized, we can analyze the list of materials and technical prints.
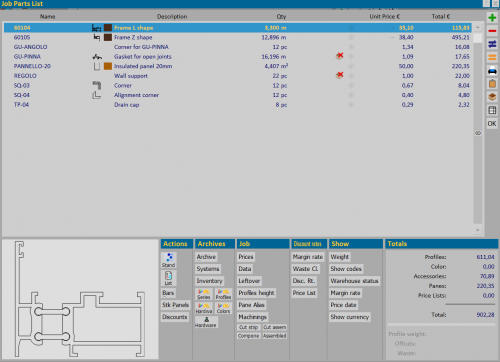
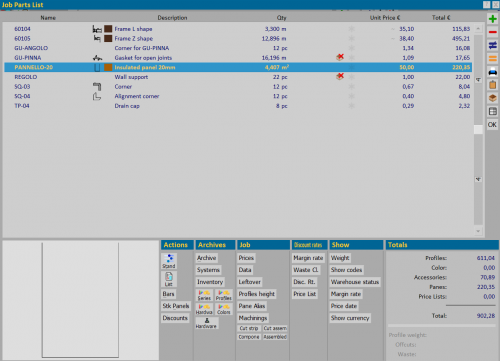
The Job Part List
In the Job Part List panel there’s a new key ![]() that allows to develop the material in pieces considering the size of the sheet.
that allows to develop the material in pieces considering the size of the sheet.
The price per m2 is still present if we disable the ![]() button.
button.
2D Optimization Print
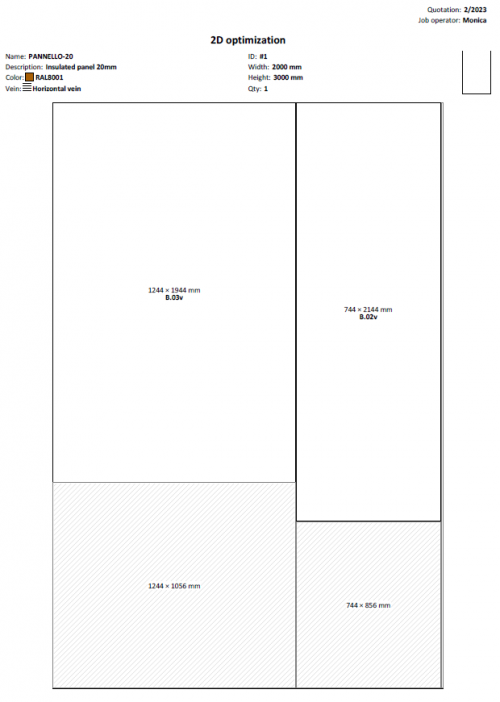
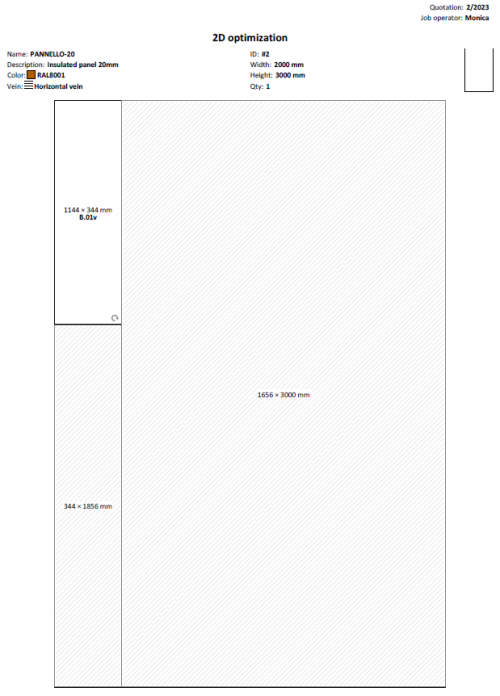
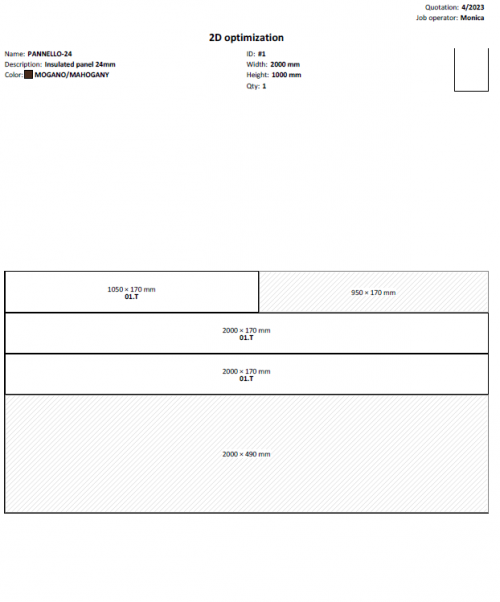
To check the optimized sheet printing, from the Print Options panel, select 2D Optimization and print.
The print shows us:
- the number of sheets to be optimized
- the relative dimensions to be produced
- the id code part to determine the job position
- the size of the waste
- the chosen vein in archive
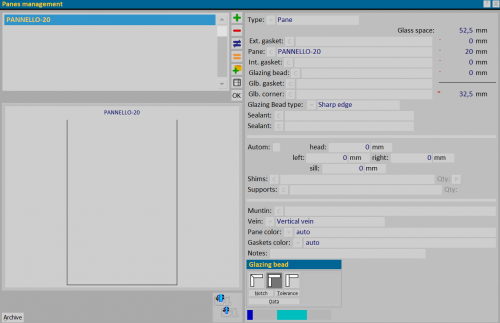
- the vein set in the job filling. In this case a dart appears in the press on the panel indicating that it has been turned. The vein can be set in the Filling management panel, in the appropriate field.
The fields Split oversize cuts and Overlay': example
The fields allow us to set the necessary parameters for optimizing the press-bent profiles.
- In the "Profile Archive," we select the profile to use in the Optimization.
- Open the Optimization Parameters box, through the button

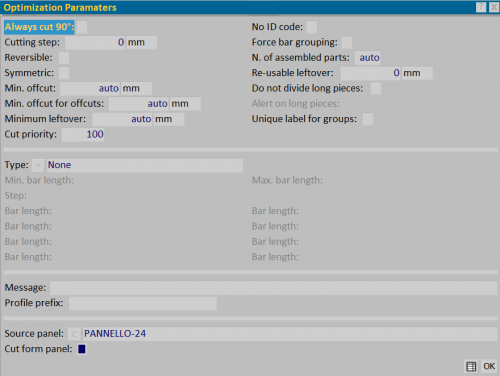
- Indicate in the Optimization Parameters box of the profile, which is the source panel to get the profile from, activate the field to generate the cut for panels, and save.
- In Accessories Archive, we select the source panel linked to the profile in Profiles Archive.
- Open the 2D optimization box, through the button
 .
.
- In the 2D optimization parameters box, activate the 2D optimization field and set the sheet size.
- Select the field Split oversize cuts, to split cuts beyond the sheet size, and the field Overlay, to indicate how much the cut pieces overlap each other.
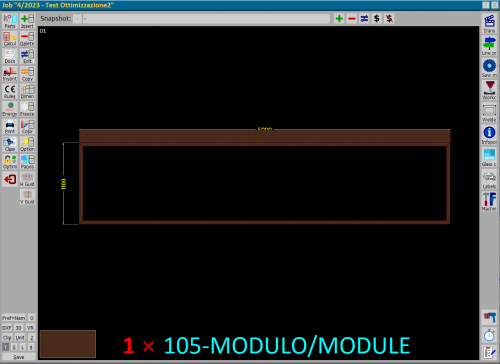
- In the Job, we enter the typology we need to make and also the profile we have prepared in the Archive.
- We make tne optimization print. The program will calculate how many pieces of profile must be obtained from the sheet following the parameters set, as seen above.

